TAB key – Moves the cursor forward to the next field
SHIFT + TAB keys – Moves the cursor backward to the previous field
SPACEBAR – Used to press buttons and check/uncheck boxes (performs the same functionality of a left click with the mouse)
ALT + – Within the program, buttons and menu items will have an underline below one letter of the label. (i.e. to push OK button press Alt + O)
CTRL+Z – Cancel Reservation
CTRL+X – Clear Screen
CTRL+P – Print Reservation
CTRL+U – Update Profile
CTRL+L – List Multi-Credit Cards
CTRL+M – Mark reservation paid
CTRL+V – Paste a copied Telephone Number
SHIFT+CTRL+F1 – Book a return reservation
Enter – The word enter used in this guide refers to any information that must be typed in by the operator using the keyboard.
Press – The word press used in this manual refers to the act of pressing the SPACEBAR when selecting a button or checkbox.
Select – The word select used in this manual refers to the act of selecting an option in a pull-down menu box.
Hot Key – The word hot key used in this manual refers to the keys also known as shortcut keys. A list of frequently used Hot Keys is found in the preceding section.
Function Key – These keys are usually found above the number keys and begin with the letter “F”.
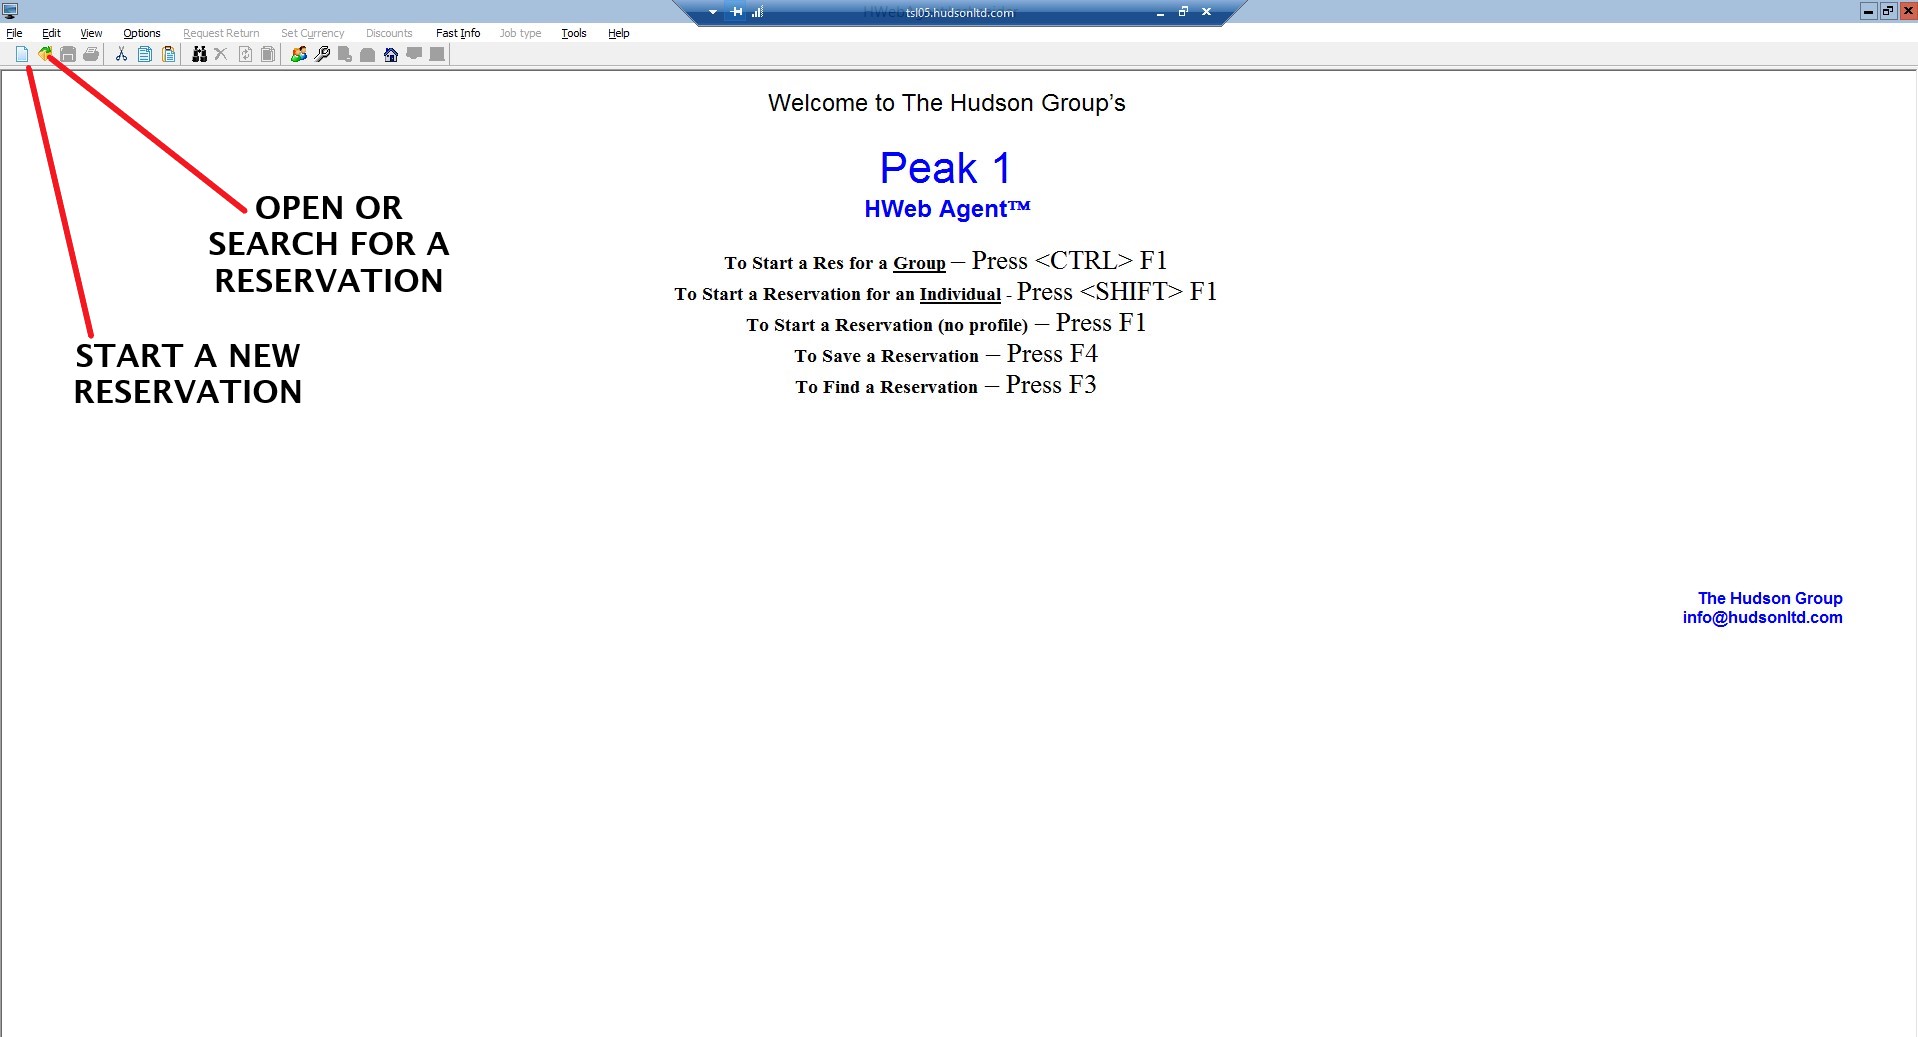
Click the computer icon with the word “Agent” and sign into Hudson.

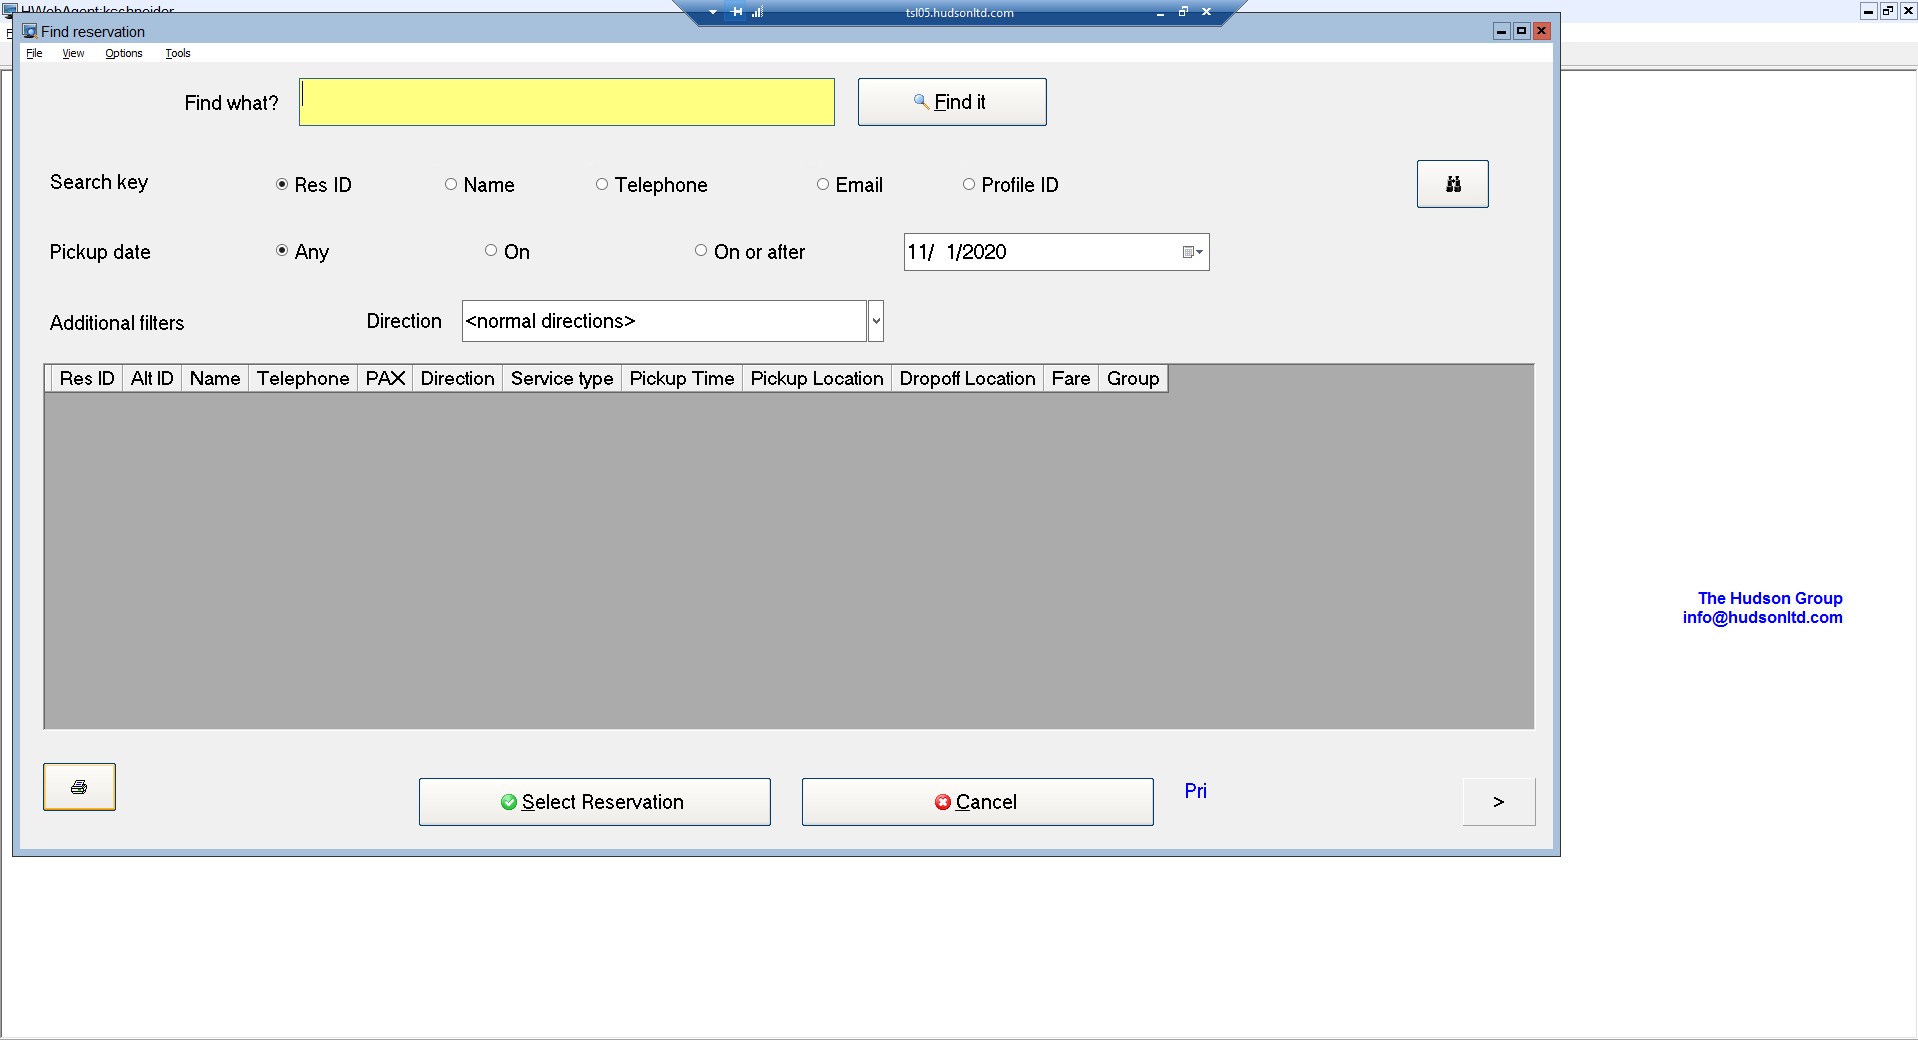
SEARCH: Enter the search item into the yellow box; click the type of search, Res ID number, Name, Phone, Email or Profile ID – click “Find It”
Click on guest reservation to edit.
Always go from LEFT to RIGHT on the screen.
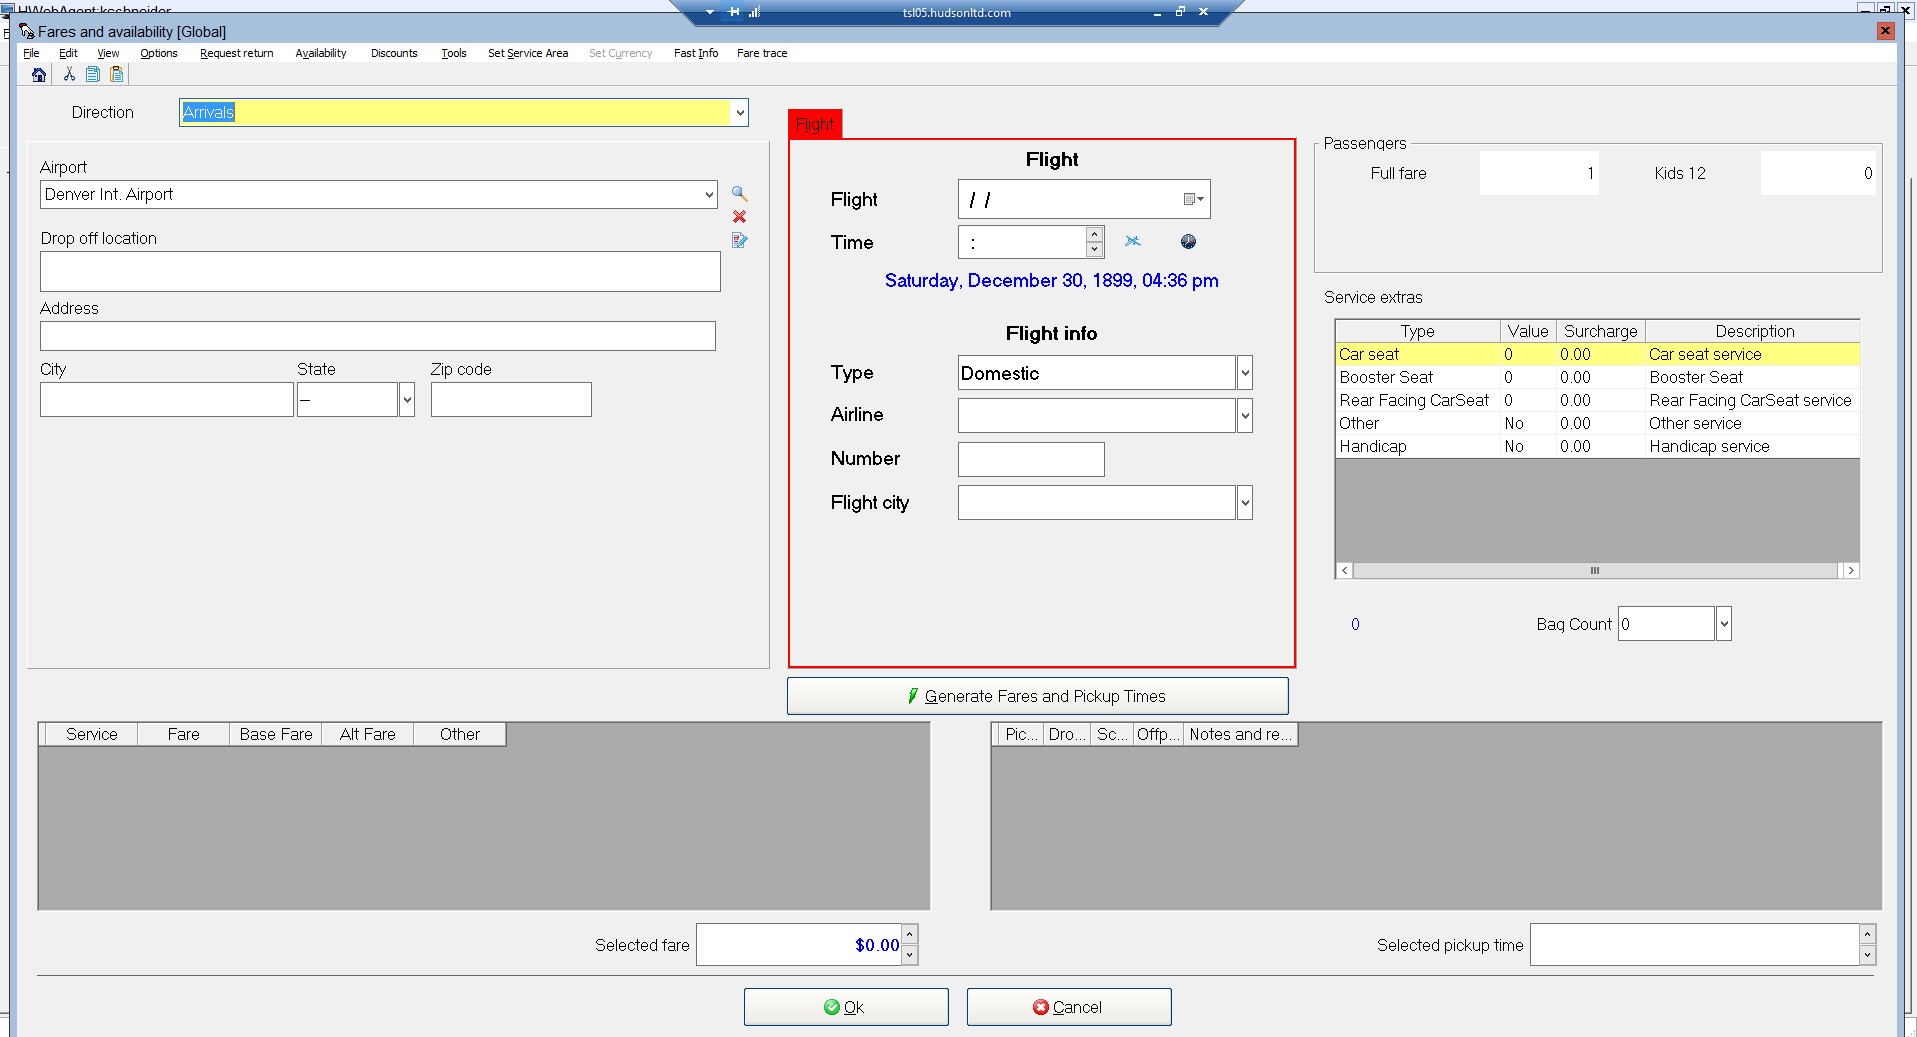
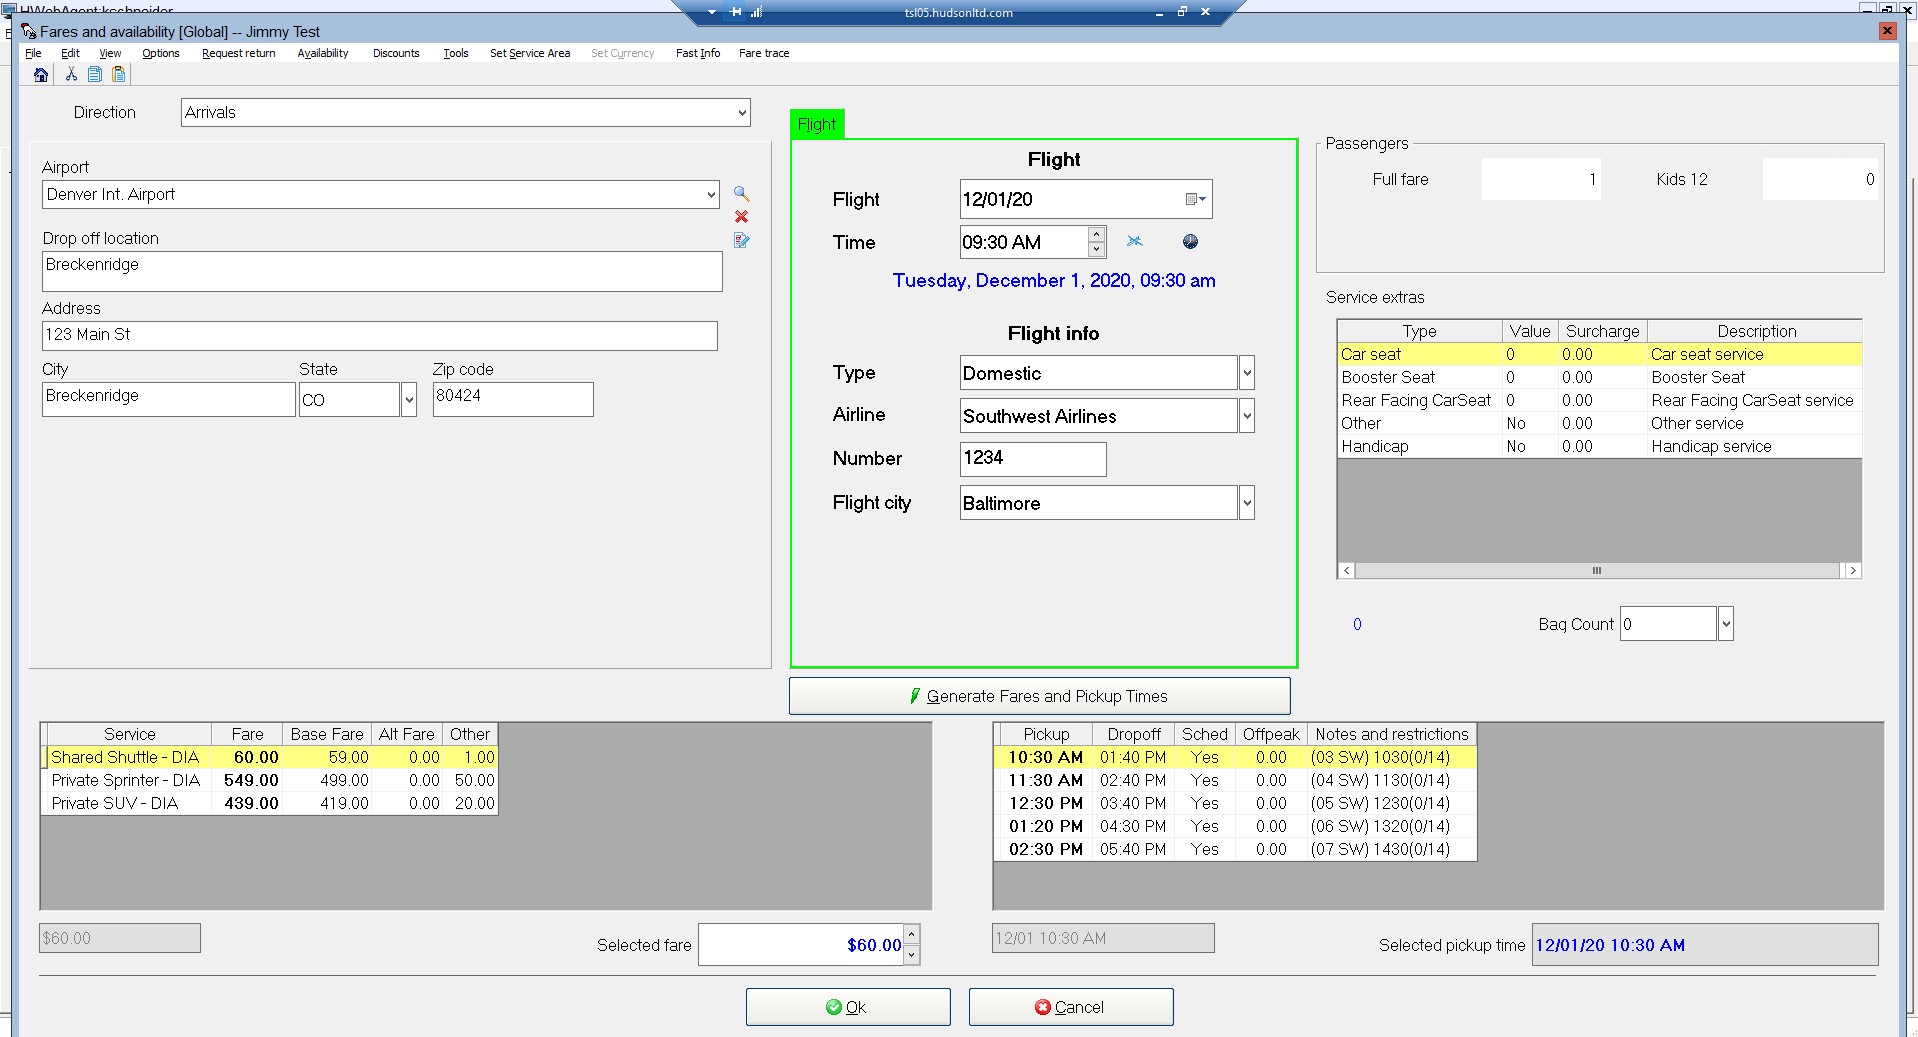
Once you’ve input all the information you need, click the Generate Fares and Pickup Times button to generate fares and pick-up times.
![]()
Check the cost of selected fare.
Confirm the shuttle time –
For ARRIVALS, the shuttle time needs to be 45 minutes after the flight lands.
For DEPARTURES, the shuttle time needs to be 4 hours from the flight time.
The pick-up time on departures could be up to 45 minutes before this, depending on the location.
Click OK.

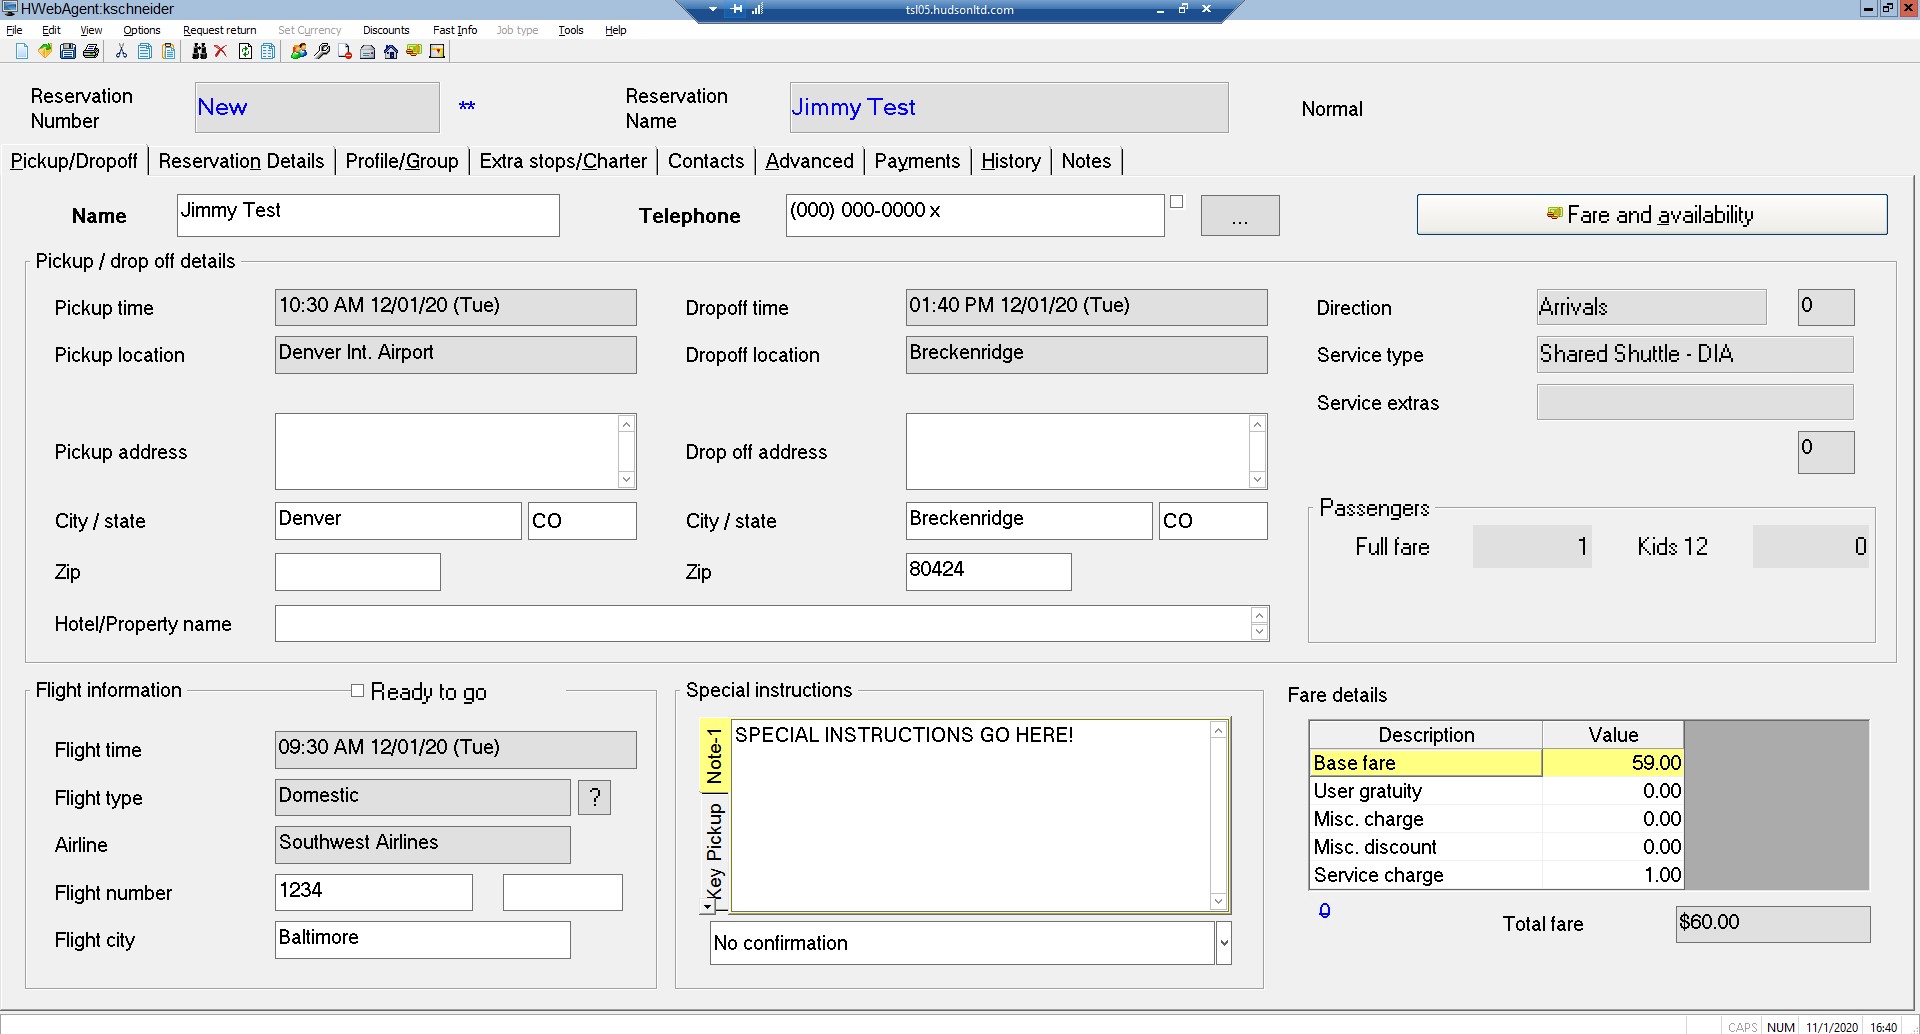
Check all details in apply payment window. Pick up times, dates, and final cost.
Ask guest permission to run their card for $X amount.
Click Mark Paid.
When the payment is processing, this is a great time to review Peak 1 Express’ Cancellation Policy. Do not let the guest hang up until payment is processed.
Head to the Reservation Details tab.
Click SAVE on your Menu Bar on the top left of your screen.
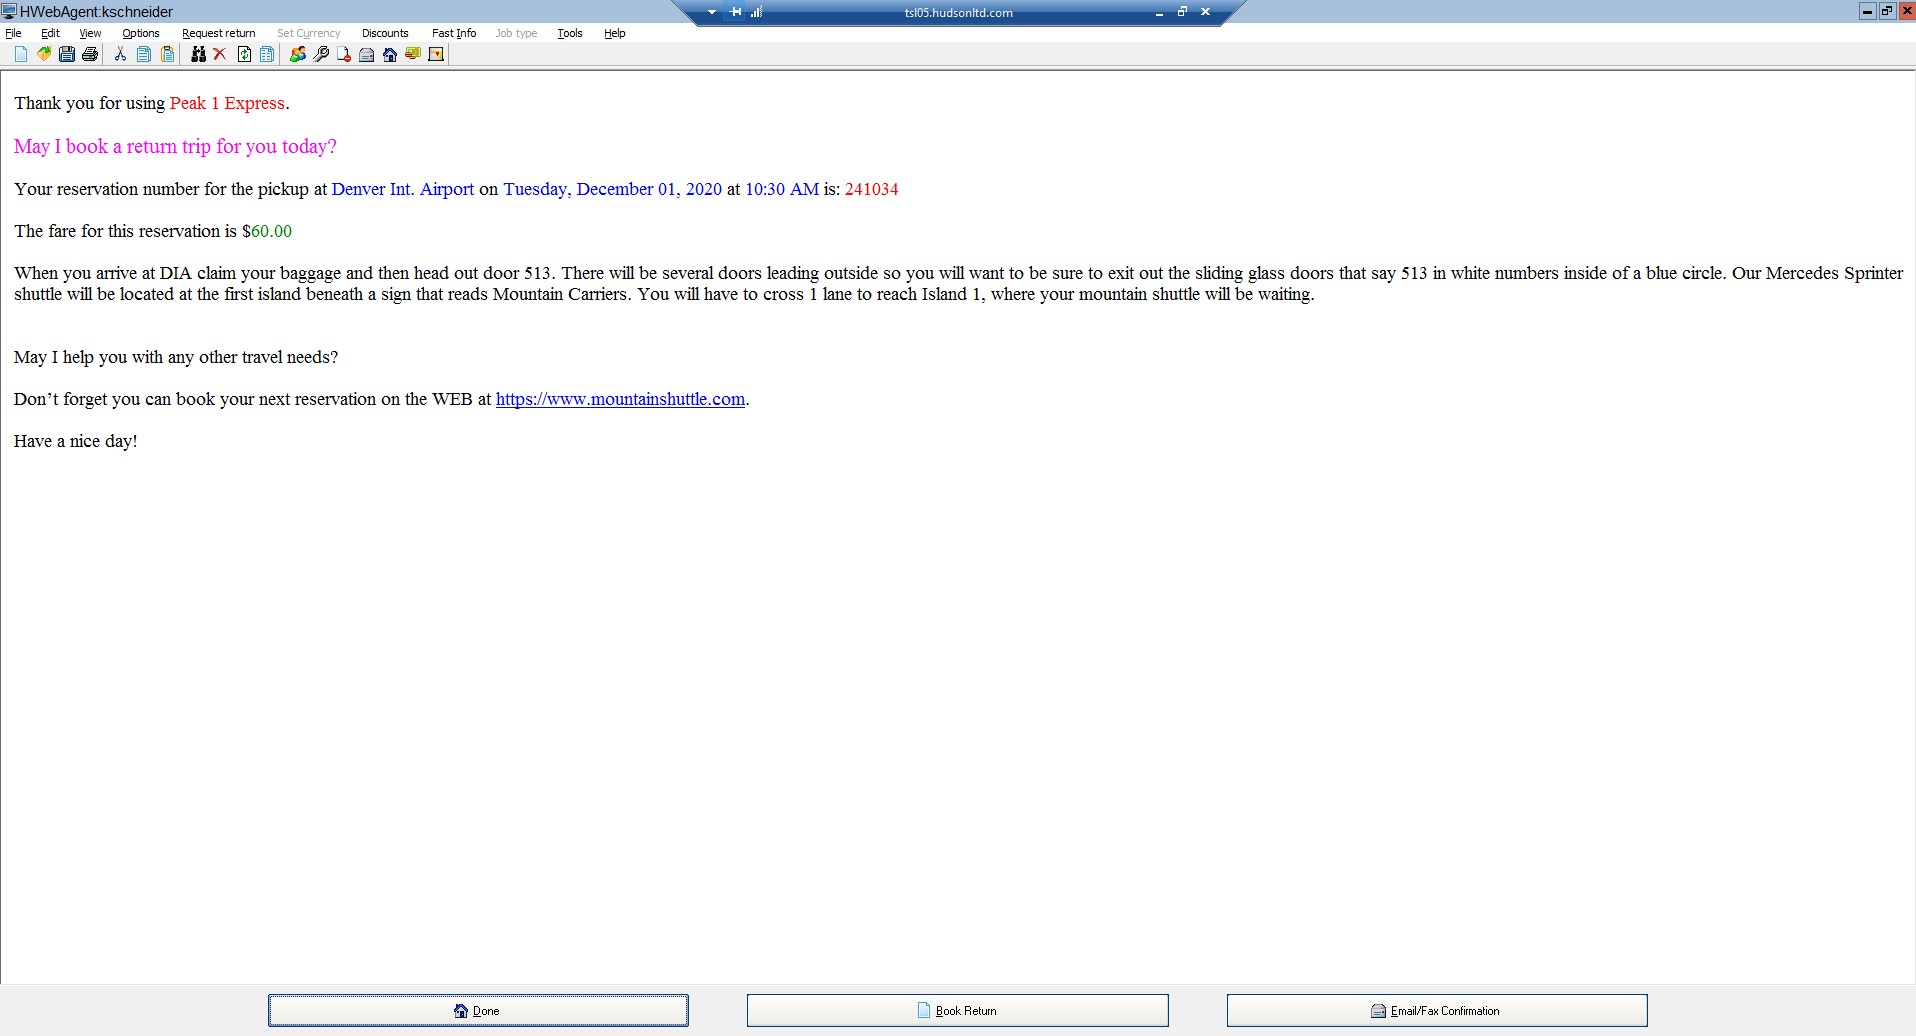
Give the guest their reservation number for when they call back.
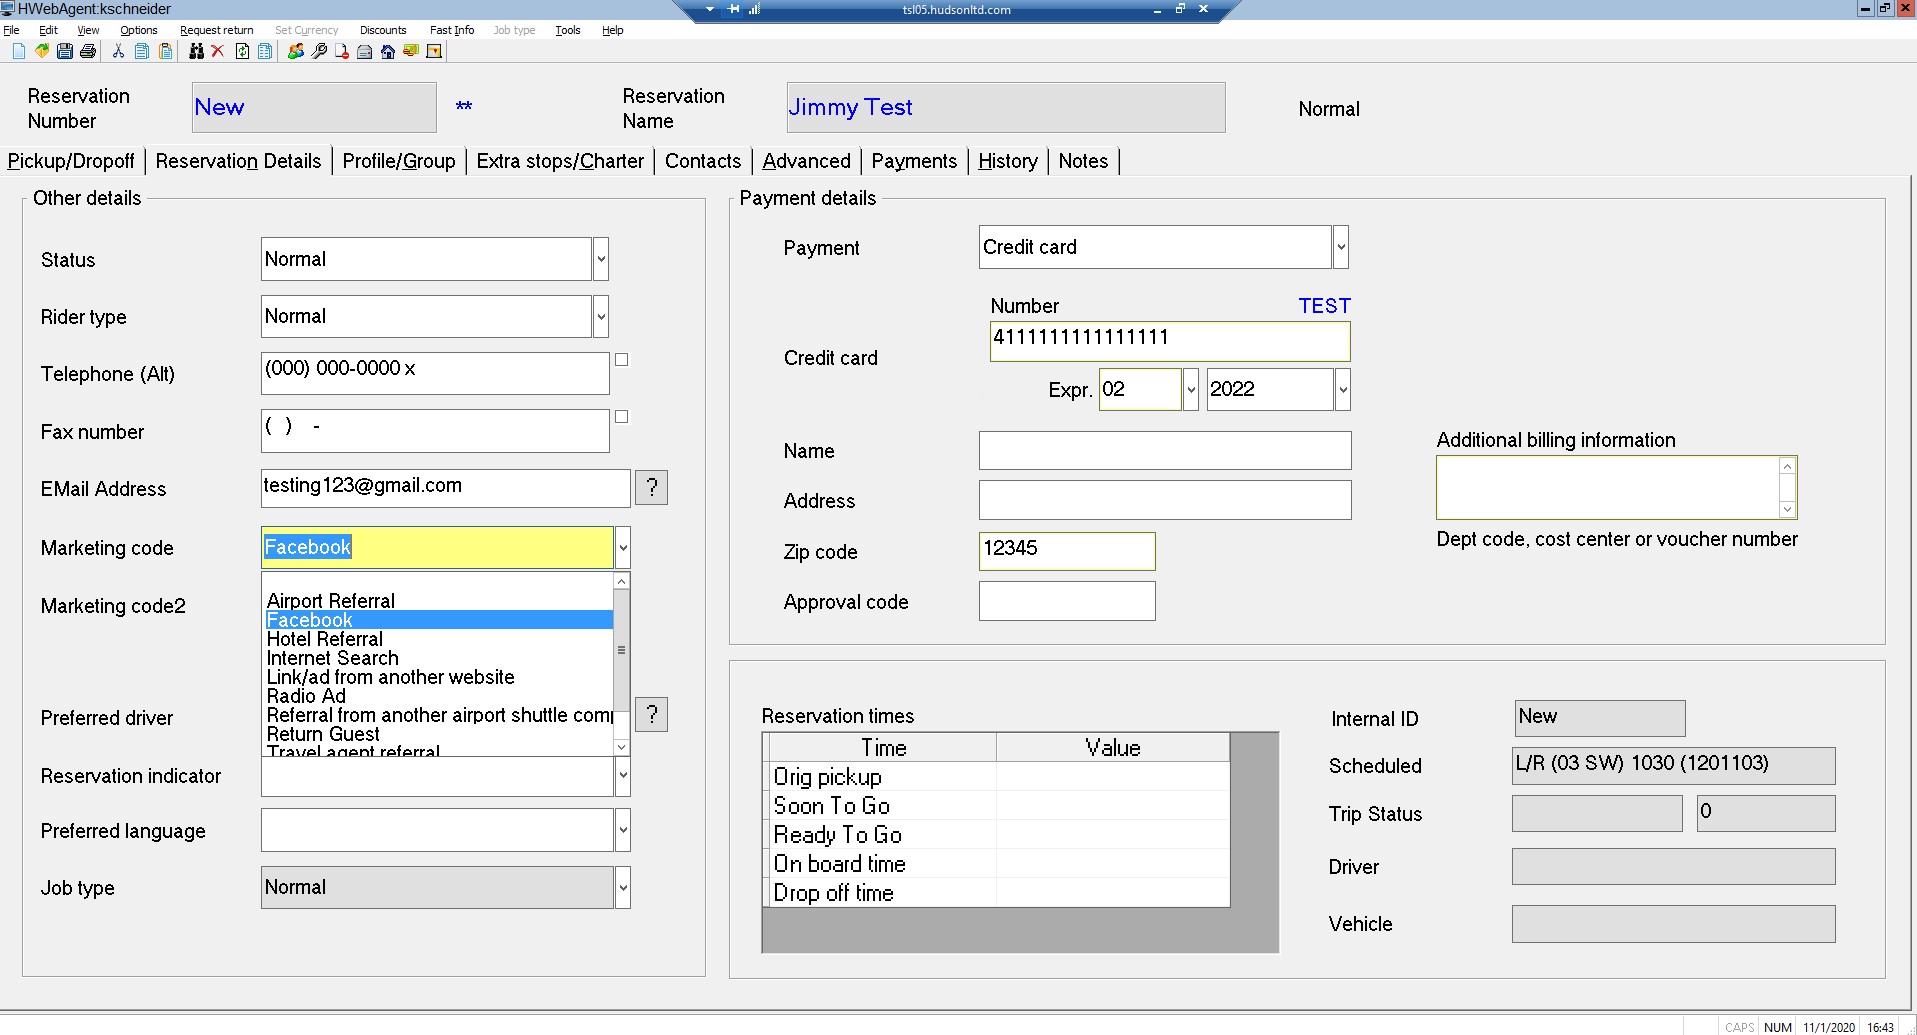
Head to the Profile/Group tab.
Click on the profile folder icon.
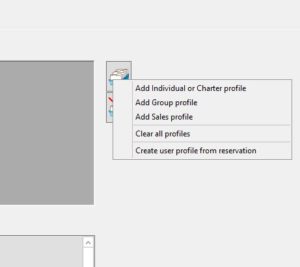
![]() Click this to ADD a profile.
Click this to ADD a profile.
![]() Click this to REMOVE a profile.
Click this to REMOVE a profile.
Click Add group profile for booking agent or discount profile.
Click Add individual profile for a return guest.
You can either search a name or other key, OR click ‘Find It’ without anything in the search bar to see all profiles.

Click SAVE on your Menu Bar on the top left of your screen.
Hudson will pull up an email screen outlining the trip you just booked.
At this point, ask the guest if they would like to book their return trip.